Read time: 5-10 minutes
TLDR:
- Learning how to add adapt my backpack to my travel needs has made it way easier and more fun to travel
- Sometimes you can’t buy a replacement in different countries so learning to sew is super helpful
- Post below includes photos on how I adapted my backpack by adding pockets and also includes a professionals’ tips on on how to make repairs properly.
Preamble:
Hello Readers,
This post is a bit of a random one, but honestly having a needle and some thread has helped me so much while travelling that I cannot resist. What can I say? I’m a bit of a homebody even while adventuring…
Background:
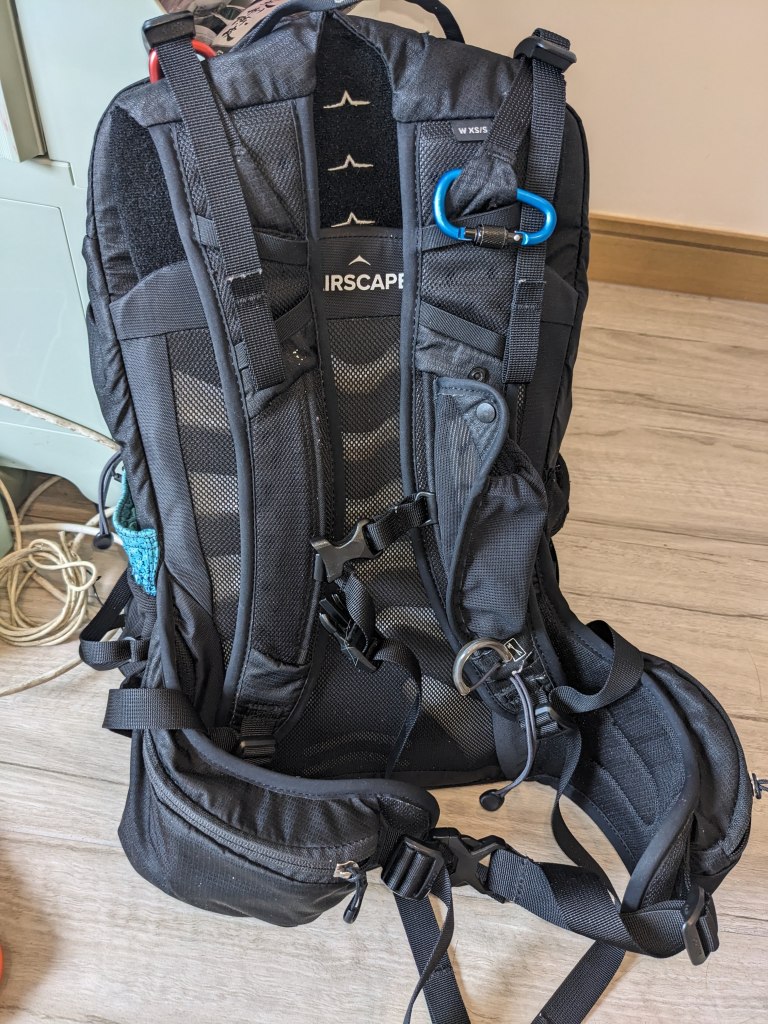
Prior to leaving home, I went into MEC (the Canadian outdoorsy store equivalent of Decathalon) to purchase a 40L carry-on backpack. Not only did I find myself with a 40L backpack, I also ended up buying a wonderful 20L backpack with great back support designed for petite bodies. It’s my saving grace and I use it every single day. I don’t even carry a purse because my backpack is more functional, more ergonomic and I don’t mind looking like a tourist all the time. It was a tad expensive (hilariously the same price as the 40L carry-on backpack), but well worth every penny.
While it’s amazing though, what I noticed while in the early months of travelling was that it didn’t quite fit my needs. The main compartment was huge and I would lose items inside plus every time I’d bend over with my backpack on, my thermos would fall on the ground…my thermos is only 300ml so super tiny. I think it’s incredibly important for me to stay organized while I travel so I don’t lose items…or waste energy thinking I’d misplaced something. So my mind got thinking…well I could A) either look for another backpack which would also have it’s own design flaws…or B) just adapt this one to fit my needs.
Of course, I chose option B.
Materials and Considerations for Adapting My Backpack:
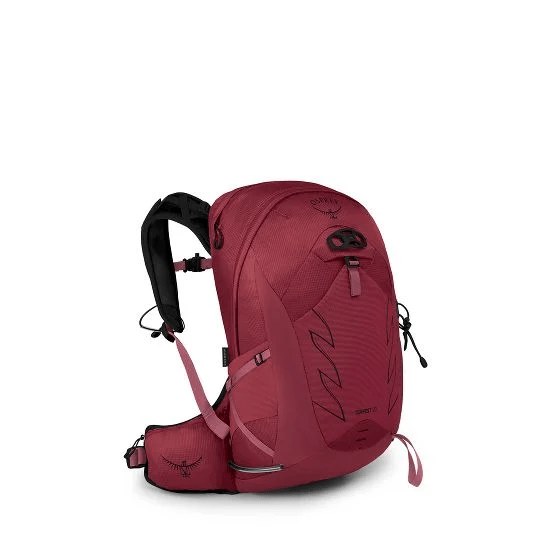
I ended up doing this 3 months into travelling when I was settled down in the hostel in Albania. I’d wanted to do it earlier, but I didn’t have any fabric thus it took a little while. Luckily, people leave clothes behind in hostels all the time! I don’t have a picture of my backpack pre-adaptations so I’m using a stock photo from the Osprey website.
Things to consider before adapting:
| What? | Comments: |
| Material | Some clothes will fray when cut (like cotton or polyester) which make it difficult to work with if you don’t have a sewing machine. I chose swimming trunks that are made of a spandex material |
| What functionality change do you need? | I wanted to do the following: – make the water bottle holders larger so my thermos wouldn’t fall out – Add an extra pocket in the main compartment to separate small items (i.e. wallet/books) from bulkier items (ie. clothing) – add a coin slot in the hip pouch (less likely to get money stolen if I’m not taking out my entire wallet for small purchases) – have a slot for my sunglasses/pens inside the pack |
| Where are the seams? | When adding pockets, you have to make sure that the original item can handle the weight otherwise it’ll tear. I never go through the main outer material as I don’t want to affect the integrity of the original fabric. |
I don’t have pictures of the beginning process as I didn’t have this blog back then, but I’ll try to describe it as best I can. Pictures of the end results are below.
| Adaptation | Steps to Make Adjustment |
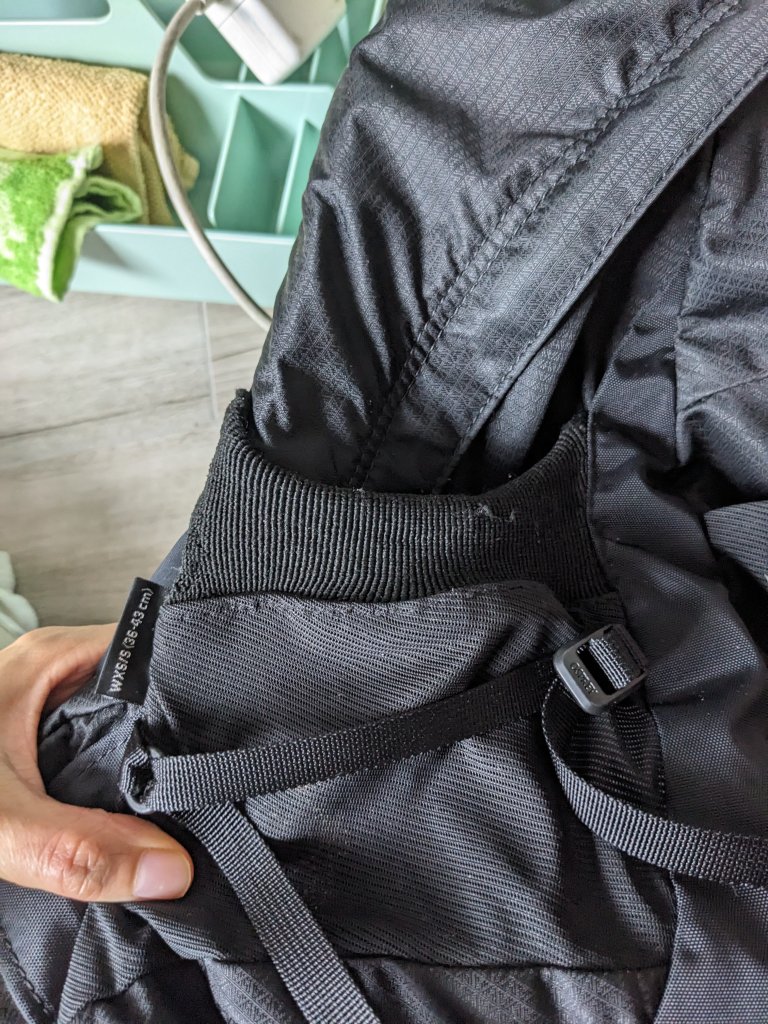
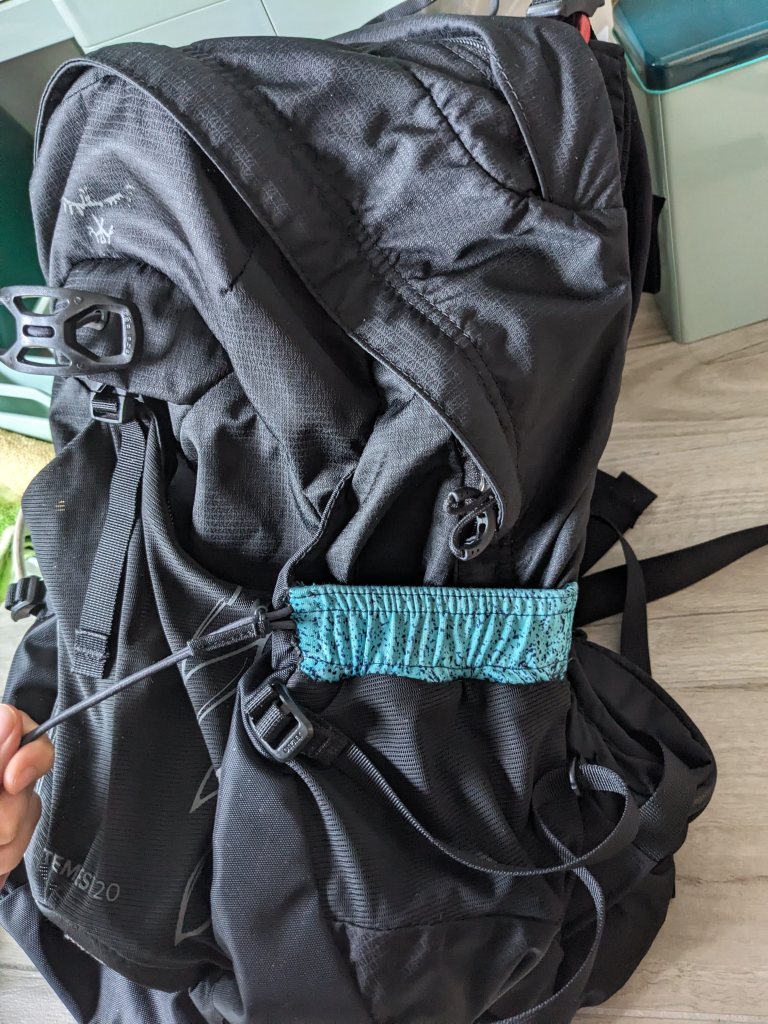
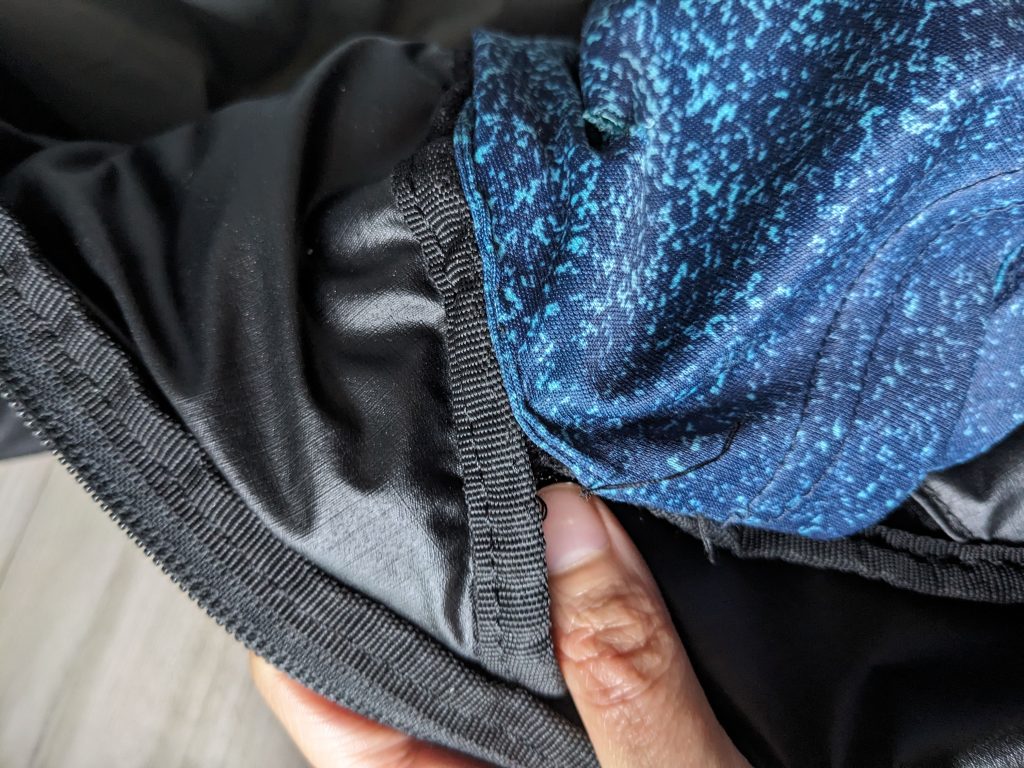
| Extending water bottle holders | 1. Cut fabric to approximately the size of the water bottle pocket 2. Sew down frayed ends 3. Attach the new fabric to the backpack making sure to sew into thick material/seams |
| Making extra pocket in main compartment | 1. See where the seams are strong enough to attach a pocket 2. Cut fabric to approximate size 3. Sew down frayed ends 4. Attach pocket to backpack seams by turning backpack inside out as much as possible |
| Coin pouch | 1. See where seams are located 2. Cut and sew coin pouch that will fit inside hip pocket 3. Attach the pouch to the inner seam of hip pocket |
| Sunglasses/Pen holder/utensil holder | 1. See where seams are located 2. Cut and sew a pouch to fit location 3. Attach pouch to seam |
The Bottle Holder Adjustment:
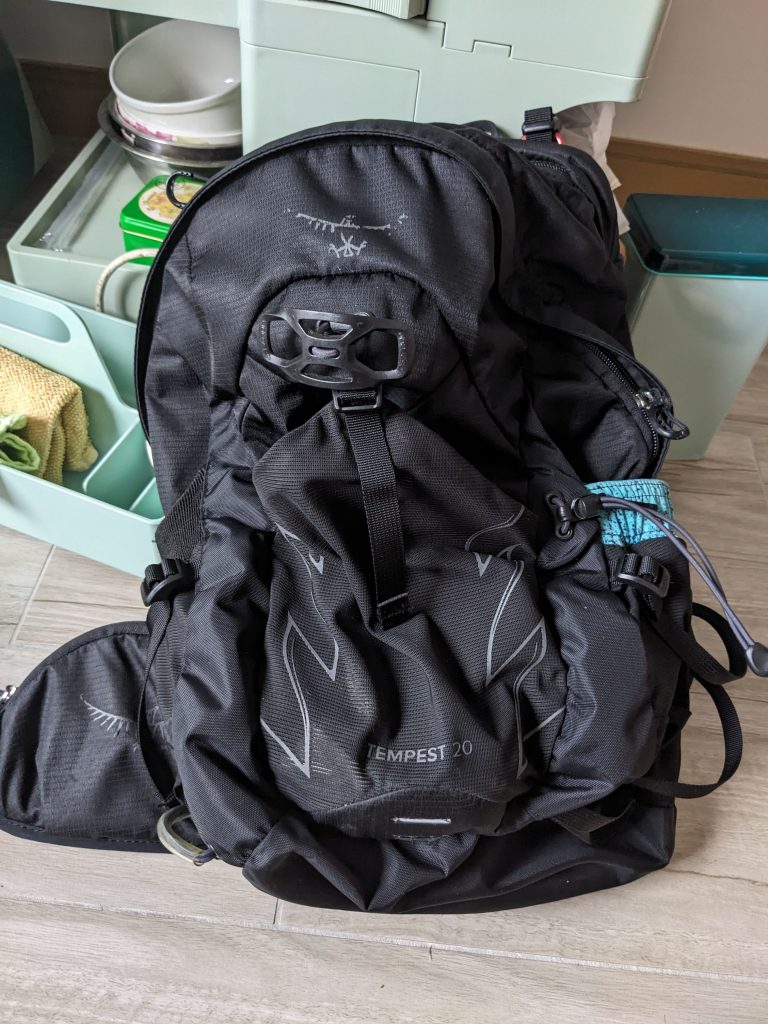
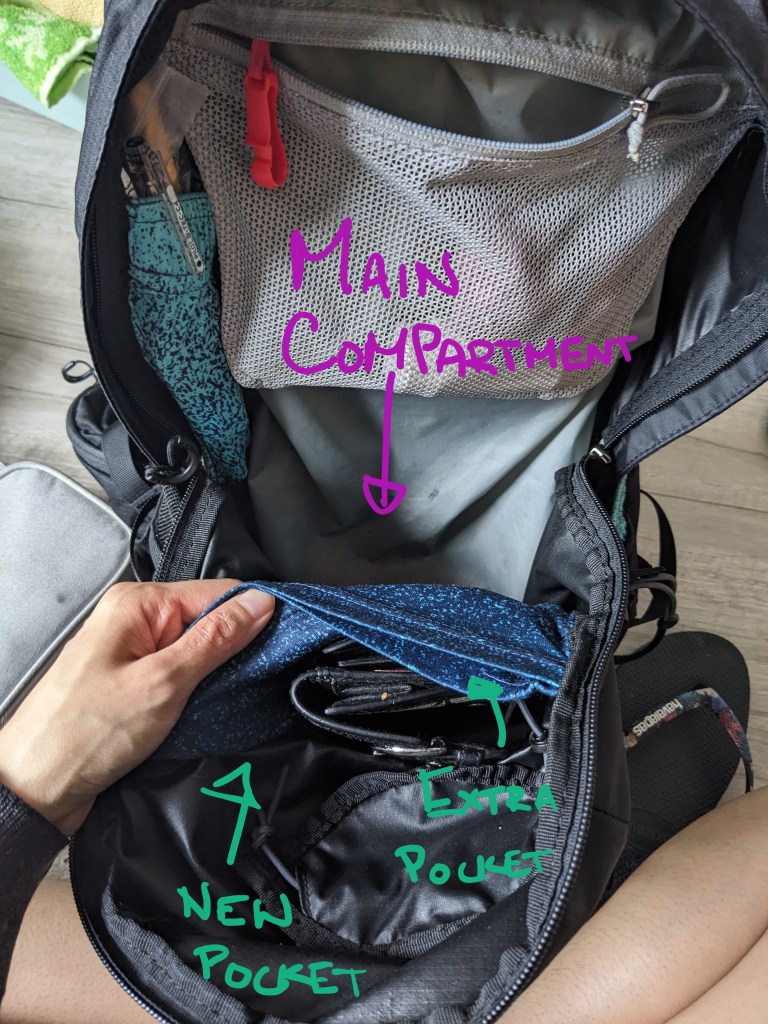
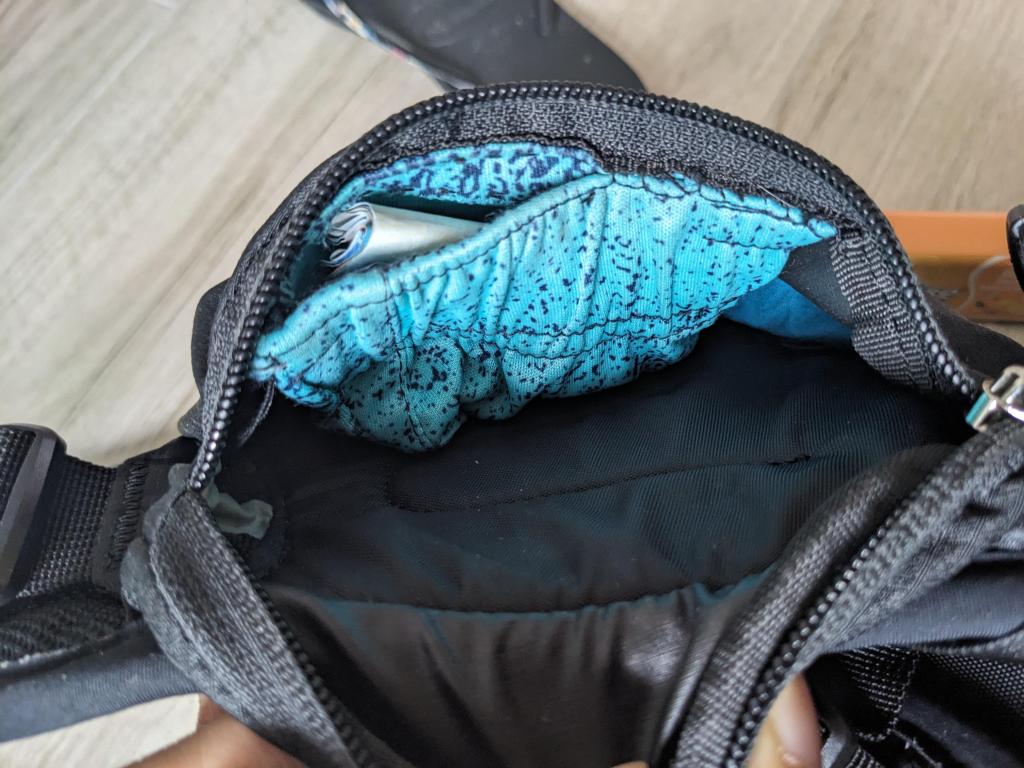
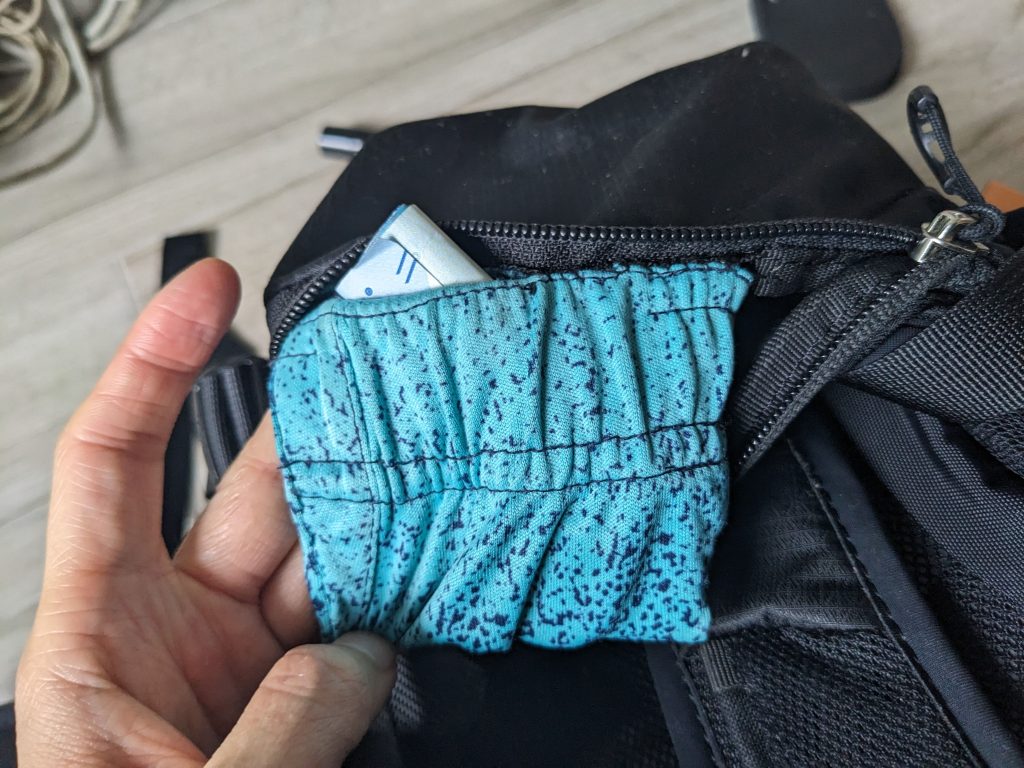
Pocket for the Main Compartment:

After adaptation:
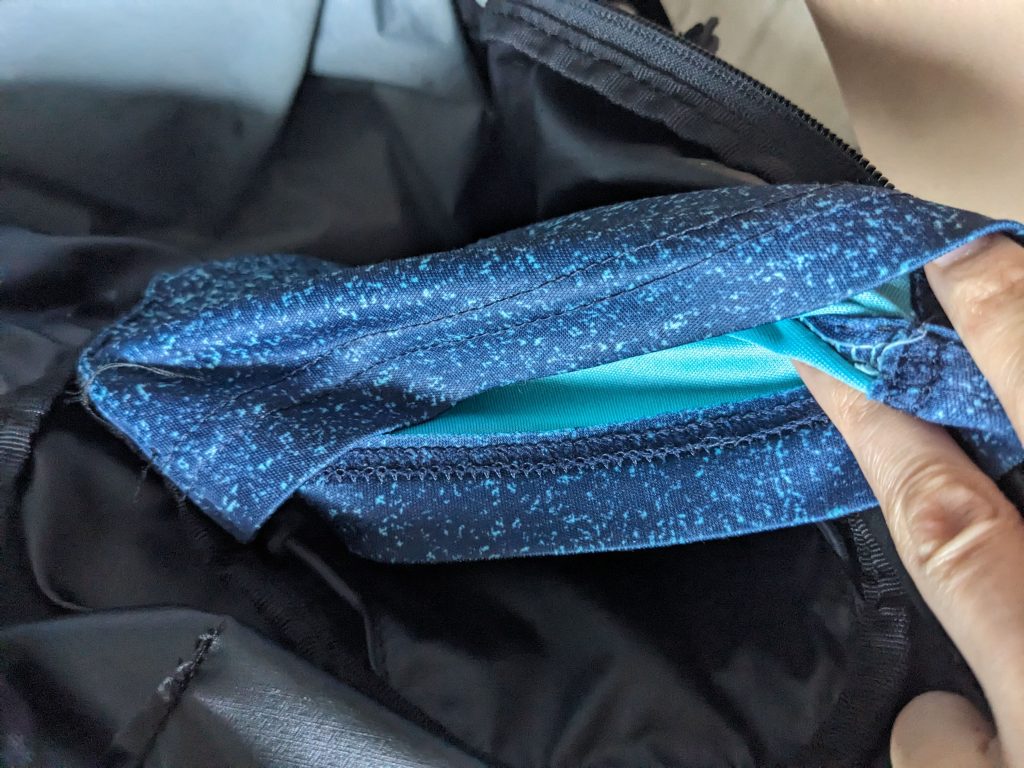
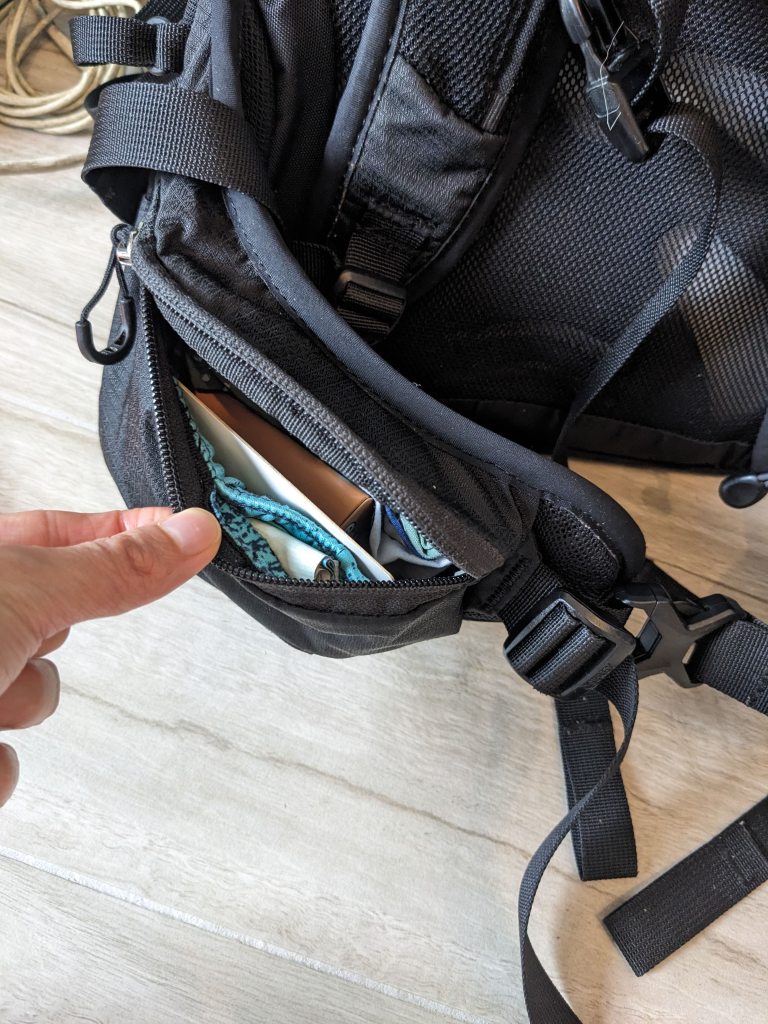
The Coin Pouch:
I really love this one because it means that I don’t need to take off my backpack to grab my wallet. Just grab a couple coins or bills while the backpack is on!
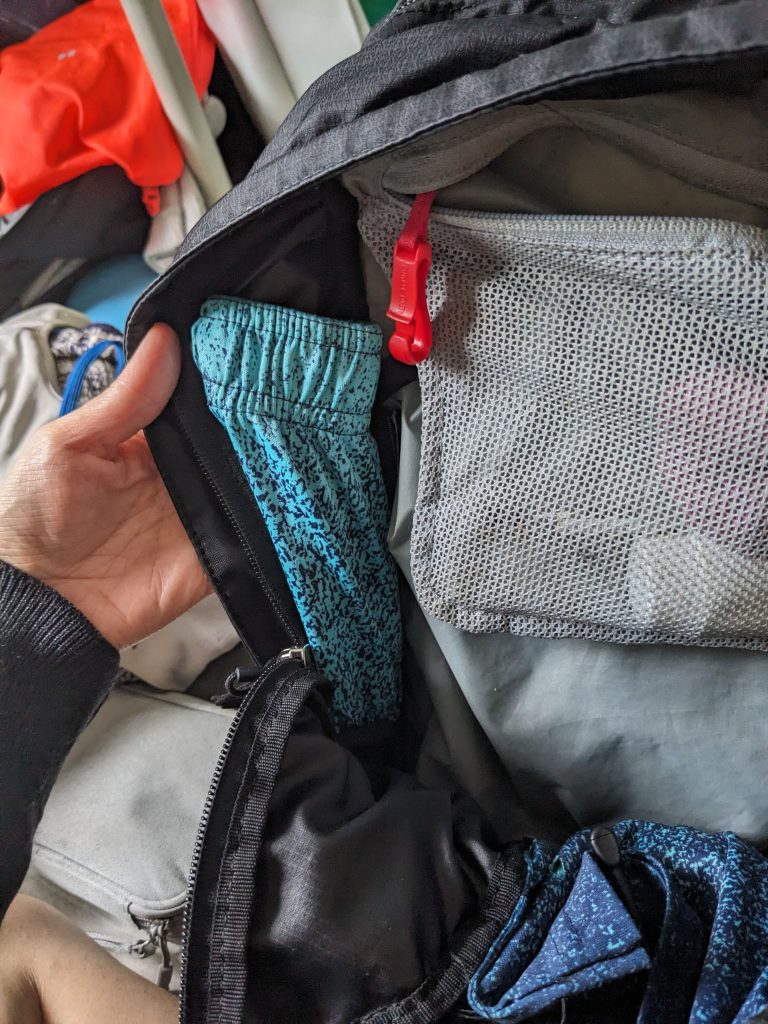
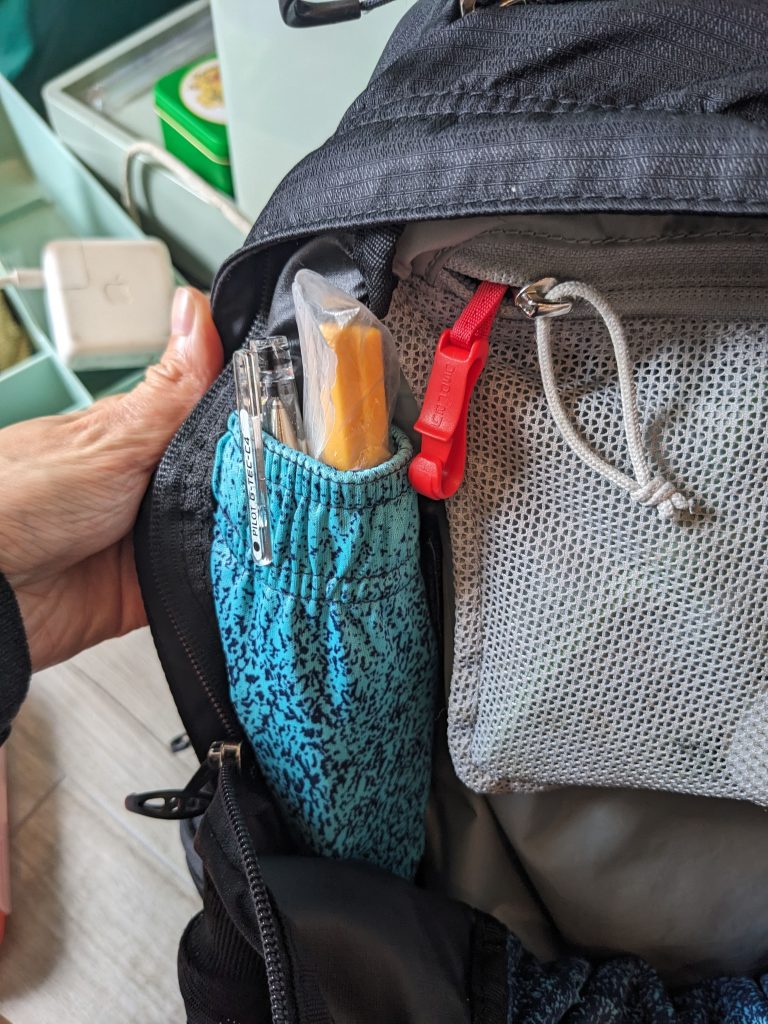
Sunglasses/Pen Holder:
To be honest, I don’t use this one very much for my sunglasses as originally intended, but I think I’ll use it now to store my pens and chopstick/spoon…items that I don’t use very often.
Nati’s Advice for Repairs:
Over the last months of travel, my clothing or bags have gotten holes in them and need repair. I learned from Nati in Barcelona how to do little repairs properly.
(As a side note: she’s a pattern maker by education so she knows her stuff! To be honest, I had never even heard of a pattern maker until I met her, but every item of clothing we wear from the stores is sewn by a person. People design the clothes and a pattern maker makes the pattern such that the clothing can be sewn. Pretty cool right?)
Nati’s Advice for Repairs:
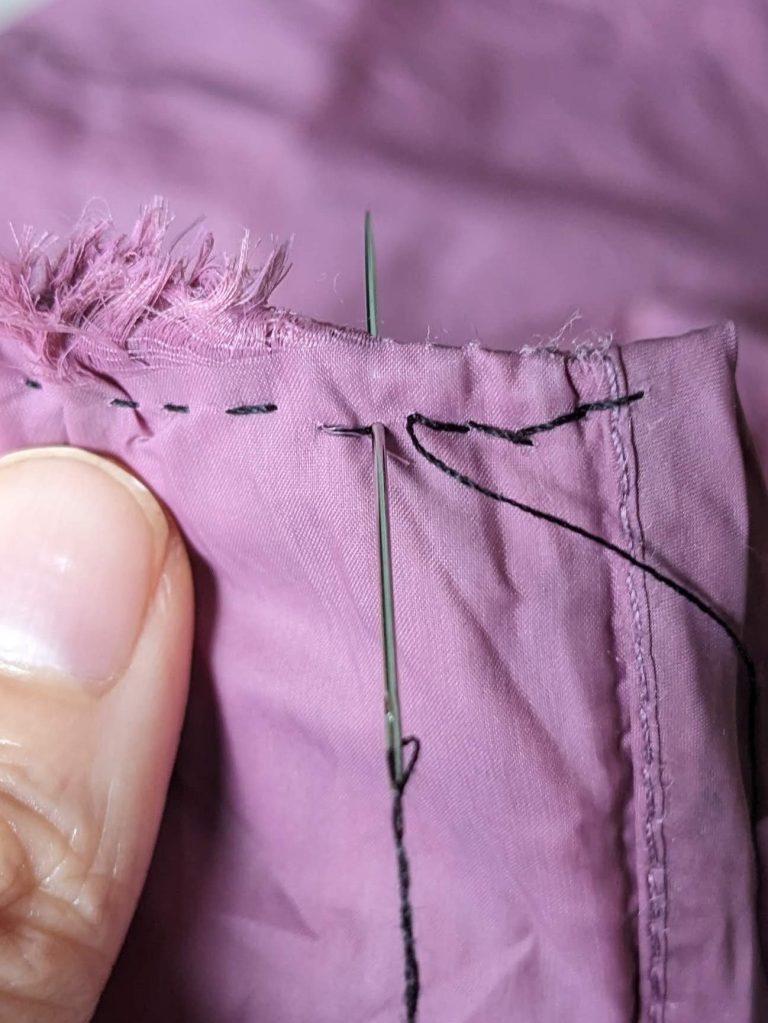
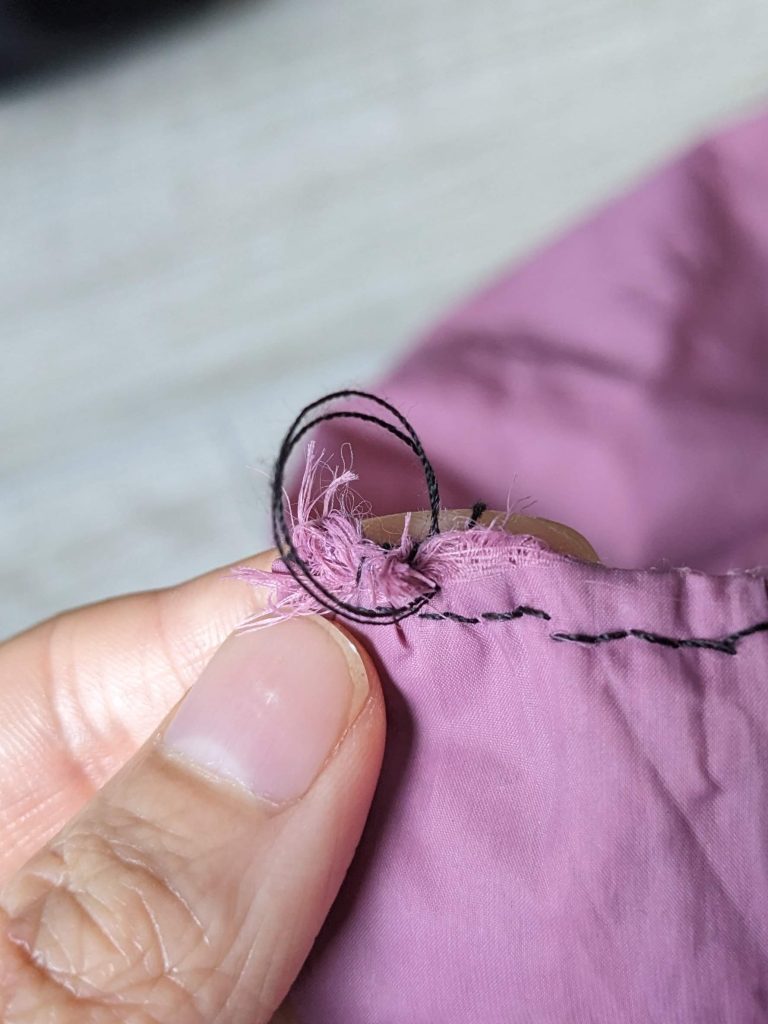
- you don’t need to double the thread unless it’s a button. It doesn’t make it stronger, the thread is too thick and it’s more likely to get tangled.
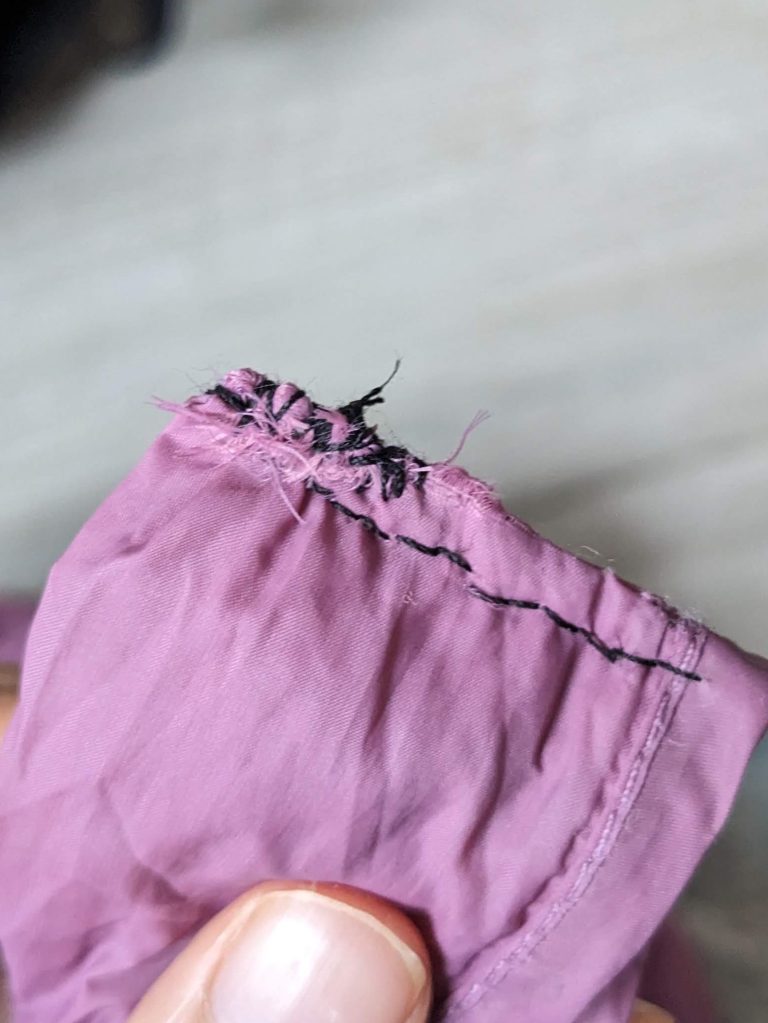
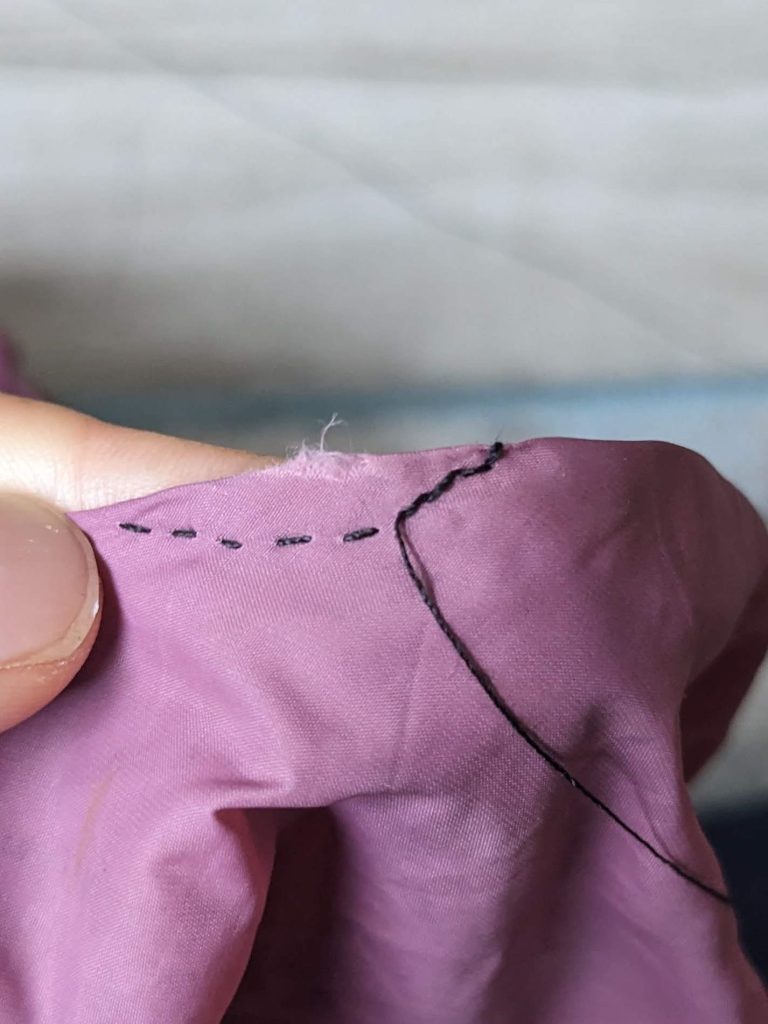
- Stitch across then back through the holes to reinforce. See example below
Bag Repair Stitching Example:
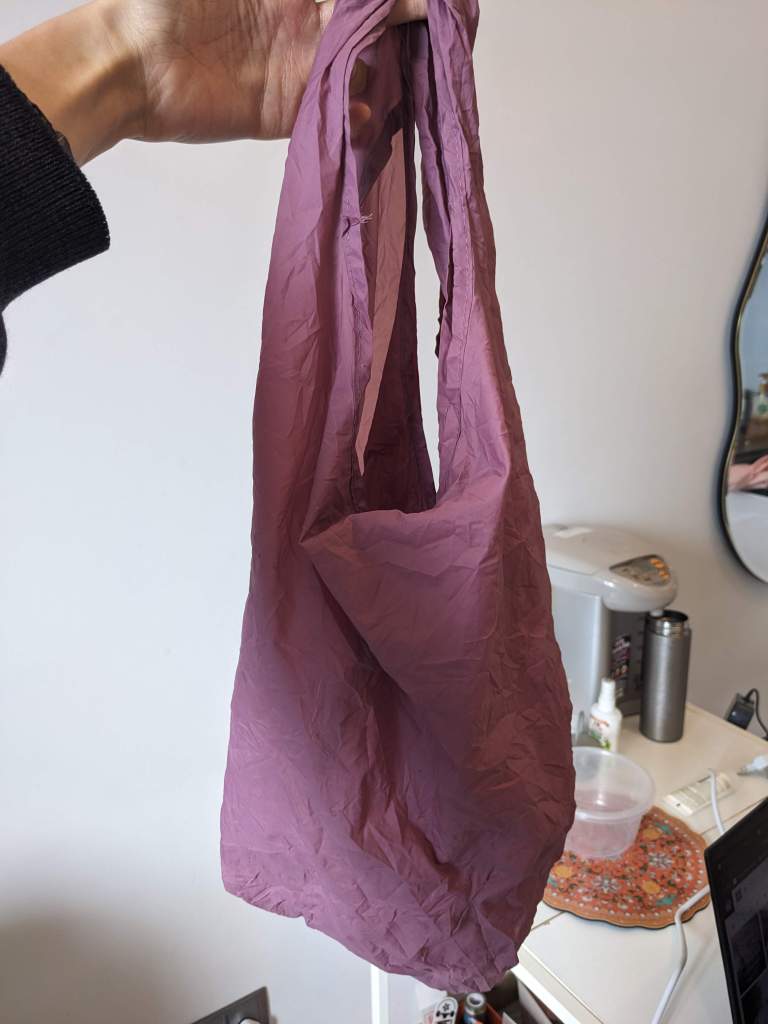
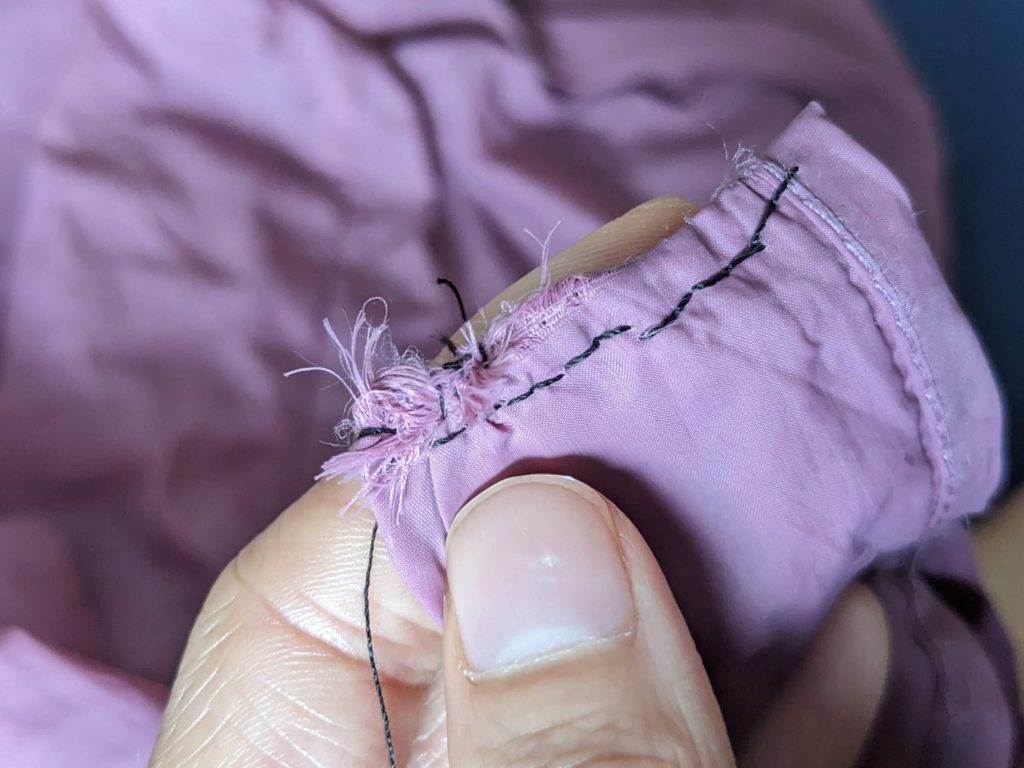
I love this bag! It’s from Daiso in Japan, is super thin, light and has served me so well. The fabric is fairly thin though so I have to repair it every once in a while. Below I was sewing the handle which had frayed and also repaired a small hole.
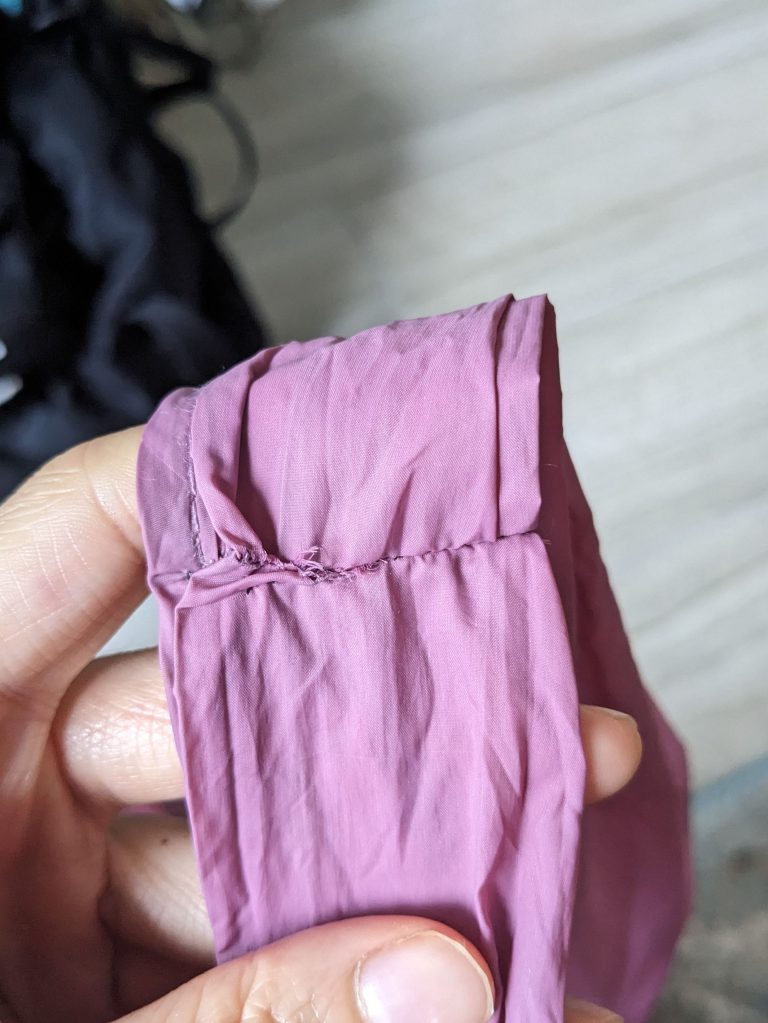
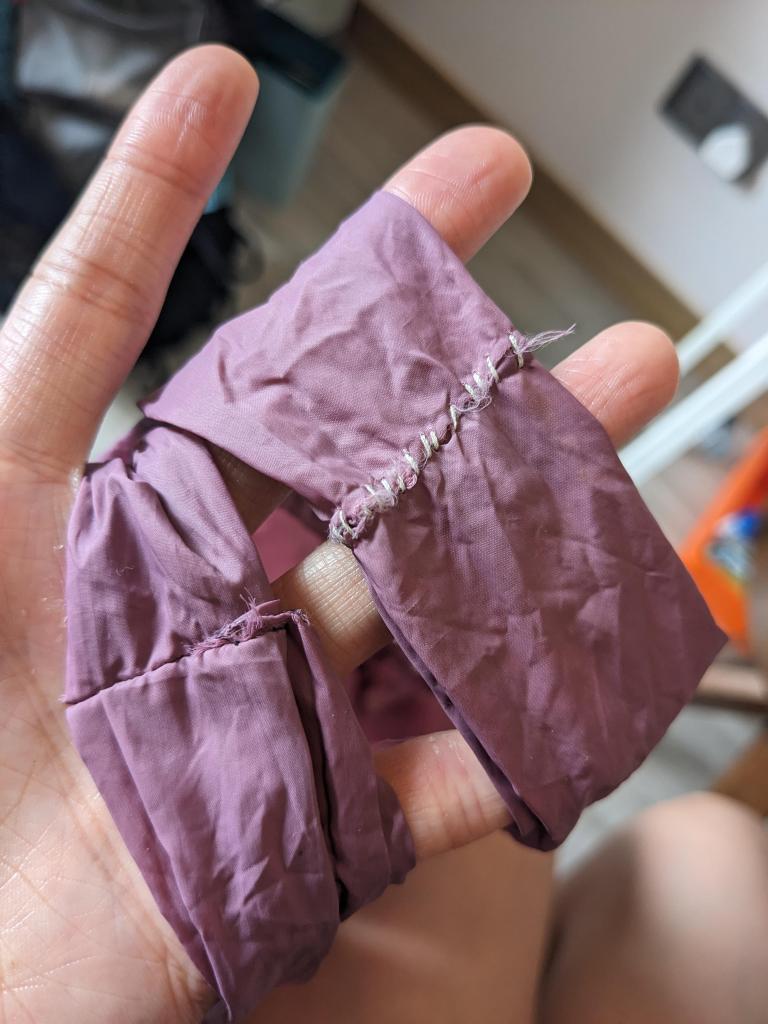
The Bag:

Repairing the Handles/Holes:

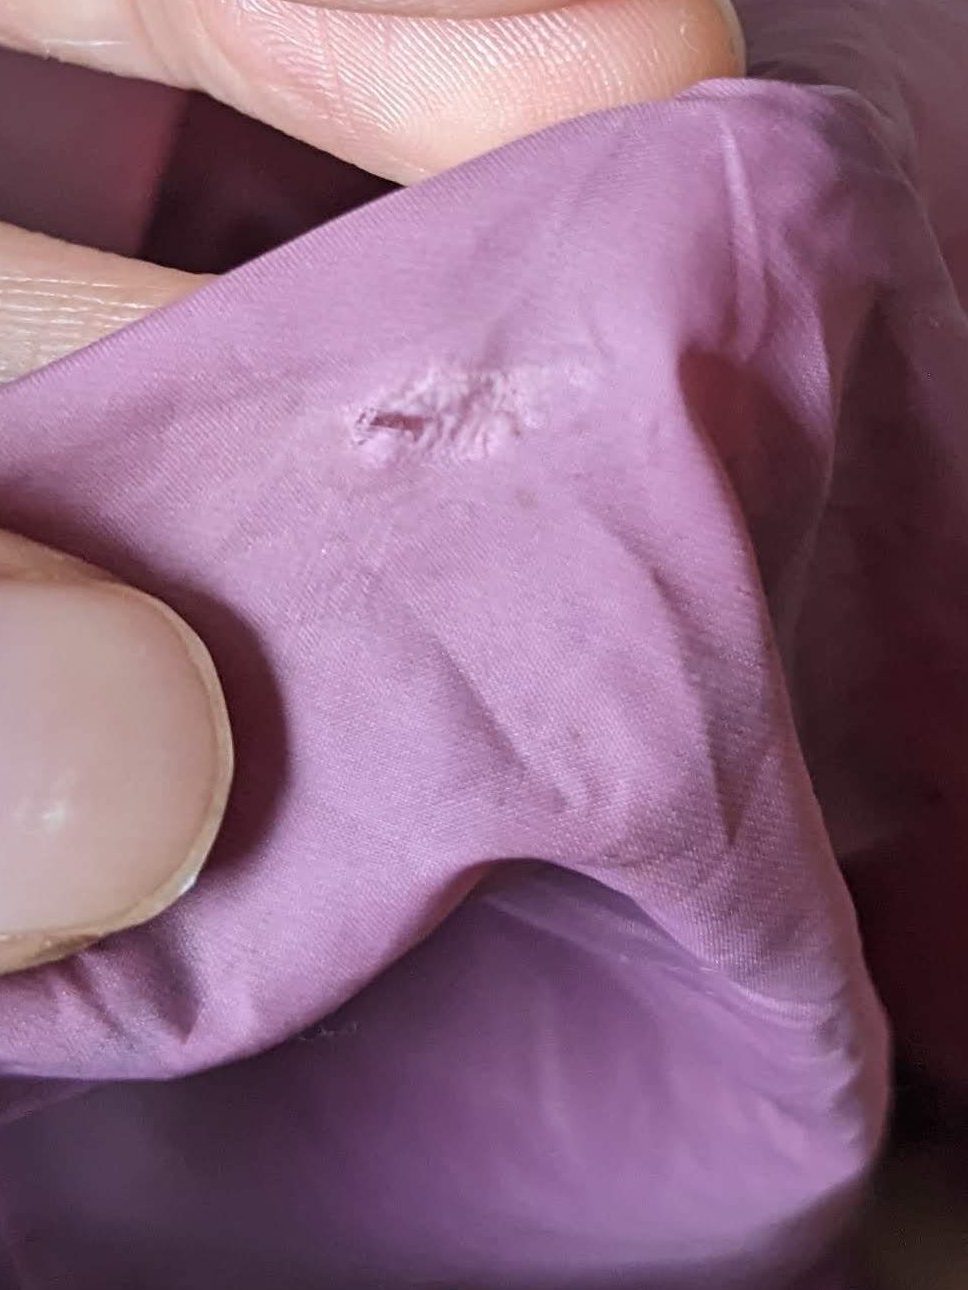

Why Repair Things?
Years ago I asked questions like this especially when it’s really easy just to buy a replacement. What I didn’t realize until travelling though is that it can be really hard to find replacements of things you like. Everything I have with me in my little 40L has a very specific purpose otherwise I don’t keep it with me. The bag above is super compressible, strong, lightweight and the carry pouch is attached to the bag so it can’t be lost. Hard to find exact replacements or, when in certain areas of the world, not possible to find anything similar…In Albania, I even had trouble finding a needle and thread!
Also. You save money. More money = more travel. A second also. It’s better for the environment. More environment = more travel.
End of story. ^^
~Tracy
